Blog Details
02-16-2024
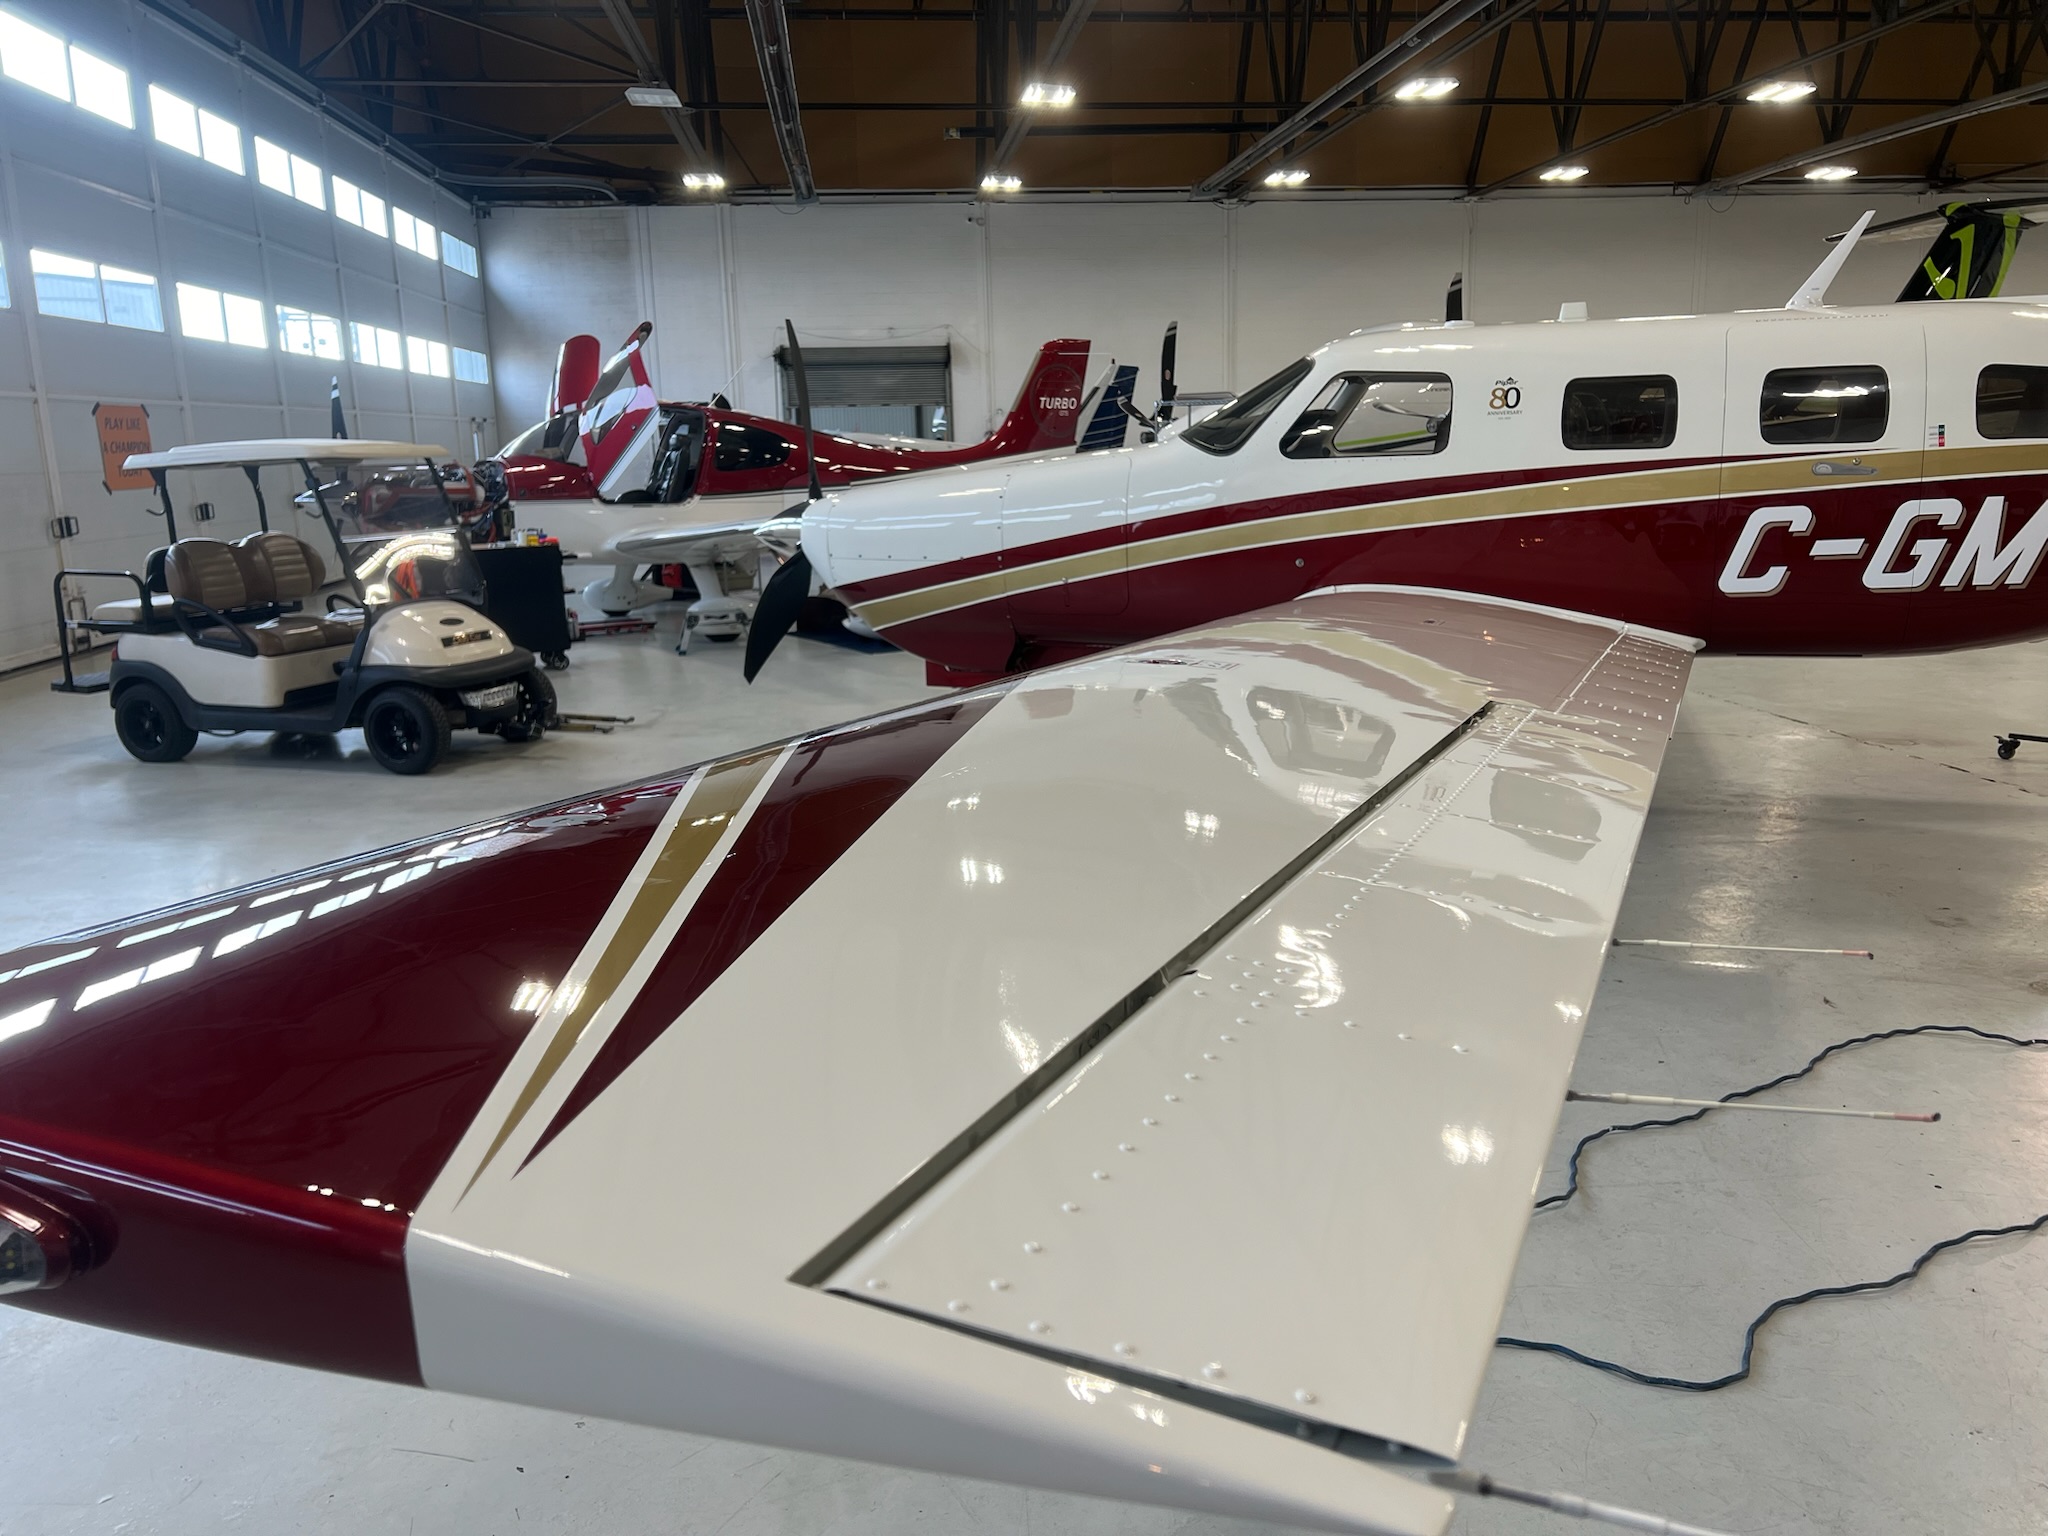
The Ultimate Guide to Dry Washing Your Aircraft in the Hangar
Ensuring your aircraft remains clean and well-maintained is crucial for optimal aesthetics and performance. Yet, not all hangars provide the convenience of an outdoor washing area or access to a garden hose. Dry washing presents an ideal solution for indoor cleaning, allowing you to keep your aircraft shining without the need for running water. This guide will take you through the steps of dry washing your aircraft inside your hangar, offering tips and procedures honed by professionals.
Materials List:
- Optimum No Rinse (ONR): Your primary cleaning agent.
- Clean Water: For diluting ONR and APC (All-Purpose Cleaner), you can do this before coming to the airport. It is recommended to use cold water because warm/hot water often has a higher mineral content from the water heater and can lead to water spots.
- Pump Sprayer: A more efficient tool than a trigger sprayer, offering speed and convenience when applying ONR.
- Aircraft-Approved Bug Remover: Specially designed for effective bug removal.
- Mineral Spirits or Aircraft-Grade Degreaser: Ideal for tackling grease on the aircraft's belly.
- All-Purpose Cleaner (APC): Diluted to a mild concentration for removing stuck-on contaminants. Ensure it's compatible with your aircraft's exterior.
- Plush Microfiber Towels: Essential for the cleaning process, with separate towels for ONR, APC, and other tasks to avoid cross-contamination.
- Disposable Terry Towels: Best used with degreasers to prevent contaminating other cleaning materials.
- Surface Protectant/Spray Wax: For application on the leading edges after cleaning to ease future cleaning efforts.
- Disposable Gloves and Safety Goggles: Necessary for protecting your skin and eyes from harsh chemicals.
Step-by-Step Guide:
Step 1: Preparation and Mixing Solutions
Start by preparing your cleaning solutions. Dilute ONR following the recommended ratio (1 ounce per gallon of water) and prepare a mild APC solution for tougher contaminants. Opting for a pump sprayer for the ONR can significantly improve efficiency and coverage.
Step 2: Degreasing the Belly
Begin the cleaning process with the belly, applying mineral spirits or an aircraft-grade degreaser with disposable terry towels. This crucial step helps remove heavy, stubborn grease and oil deposits effectively.
Step 3: Bug Removal
Focus on bug removal next. It's advisable to lower your flaps first, ensuring thorough coverage around the aircraft. Pay special attention to commonly overlooked areas such as under the nose, the underside of the wing between the wing root and strut connection on high wing aircraft, and the backside of the propeller. Apply the bug remover directly to affected areas, letting it dissolve the bug residues before gently wiping them away.
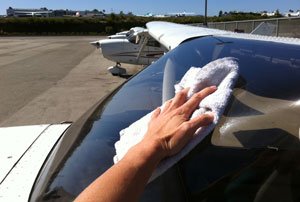
Step 4: Cleaning in Sections with a Top-Down Approach
Employ a top-down method for cleaning, starting from the nose and moving towards the tail. For a Cessna 172, for example:
- Start with the nose, including the propeller and spinner.
- Proceed to the top of the wing from the centre of the cabin out including the leading edge.
- Address any contaminants under the wing.
- Clean the sides of the fuselage from the nose back, cleaning the strut (If applicable) when you pass it.
- Finish with the tail section, then repeat on the opposite side.
For areas with stuck-on contaminants, use the APC solution with a dedicated plush microfiber towel. Apply APC sparingly and ensure it does not dry on the surface. Afterward, neutralize the area with ONR to remove any APC residue.
Step 5: Windscreen Care
After addressing the main sections, give special attention to the windscreen with suitable cleaning methods that preserve its integrity. (For comprehensive instructions, refer to our dedicated windscreen cleaning blog post.)
Step 6: Applying Surface Protectant/Spray Wax
Conclude your cleaning regimen by applying a surface protectant or spray wax to the leading edges. This crucial step not only facilitates future cleanings but also shields the aircraft from environmental damage and bug impacts.
Conclusion
Dry washing your aircraft inside the hangar demands meticulous planning, the correct materials, and a disciplined approach. This guide emphasizes tackling the most challenging areas first, employing specialized products like APC for difficult spots, and following a systematic cleaning process. Adhering to these steps will ensure your aircraft not only looks its best but also remains protected against the elements, primed for your next journey. Embracing regular maintenance and proper cleaning techniques is essential for upholding both the aesthetic and functional integrity of your aircraft.

Leave a comment